Client
A relation can be an individual (an employee), or a business (an affiliated center).
![]() For details on the properties, see Allocation of properties.
For details on the properties, see Allocation of properties.
![]() If a property is assigned to a relation in the client's file, it will be identified by a star. Click on the type of relation to change one or more properties.
If a property is assigned to a relation in the client's file, it will be identified by a star. Click on the type of relation to change one or more properties.

1.If you are still in the file of the client, click on the sub-tab "Relation".
•Otherwise, open the "Client" window, you are in search mode, you will notice that the fields are green.
•Enter the name of the client in the field "Client Name", and click on the icon ![]() (Execute a search) to open the client file.
(Execute a search) to open the client file.
•Under the "Contact" tab, click on the sub-tab "Relation".
2.To add or change an information for an existing contact, click on the icon ![]() (Open file) at the right of the name to open the file of this contact.
(Open file) at the right of the name to open the file of this contact.
3.Select the area in which you want to add or modify an information.
4.Click ![]() to save or
to save or ![]() , to ignore the modification.
, to ignore the modification.
![]() When adding a relation in a file of a "Client", PRIM searches among existing contacts.
When adding a relation in a file of a "Client", PRIM searches among existing contacts.
 Add a relation - Existing contact in PRIM
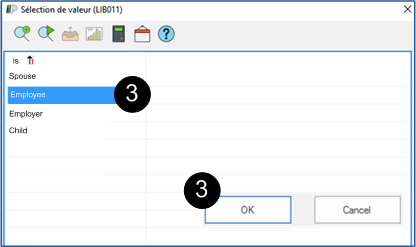
In the example below, we will add an individual relation, an employee.
1.Click on the sub-tab "Relation". 2.In the list of the relations, click on a blank line or on the icon 3.Select the option "Employee". Click on
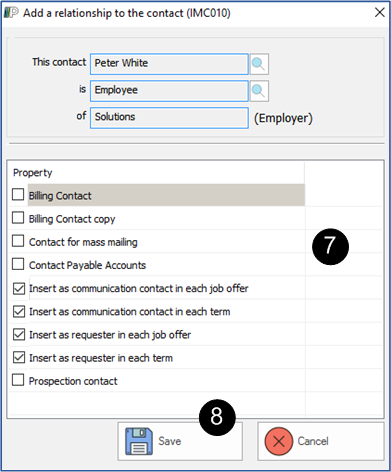
4.The "Contacts management" window will be displayed. 5.Search the contact you want to add in the list by entering its name in the "Name" field and click on the icon 6.Click on 7.The "Add a relationship to the contact " window is displayed. Check the properties that you want to assign to this contact.
8.Click on 9.The contact is displayed in the "Relation” area.
|
 Add a relation - New contact in PRIM
In the example below, we will add an individual relation. 1.In the client file, select the sub-tab "Relation". In the list of relations, click on a blank line or on the icon 2.The window "Selection of value" is displayed. Choose from the proposed items. 3.The window "Contacts management" will be displayed. 4.Click on the icon 5.Click on the icon 6.Click in the different areas of the window “Contacts management" where you want to add information. Click on 7.Click on the button 8.The “Contacts management" window closes. The "Add a relationship to the contact " window is displayed. Check the properties that you want to assign to this contact. 9.Click on 10.The contact is displayed in the "Relation” area.
|
 Receiver of service
A service receiver must be a contact existing in PRIM, a "client" type.
In the example below, we will add a business relation, a receiver of service.
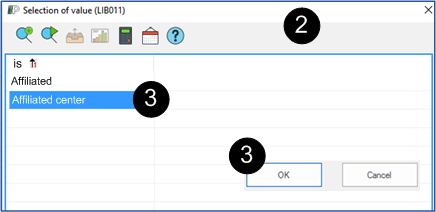
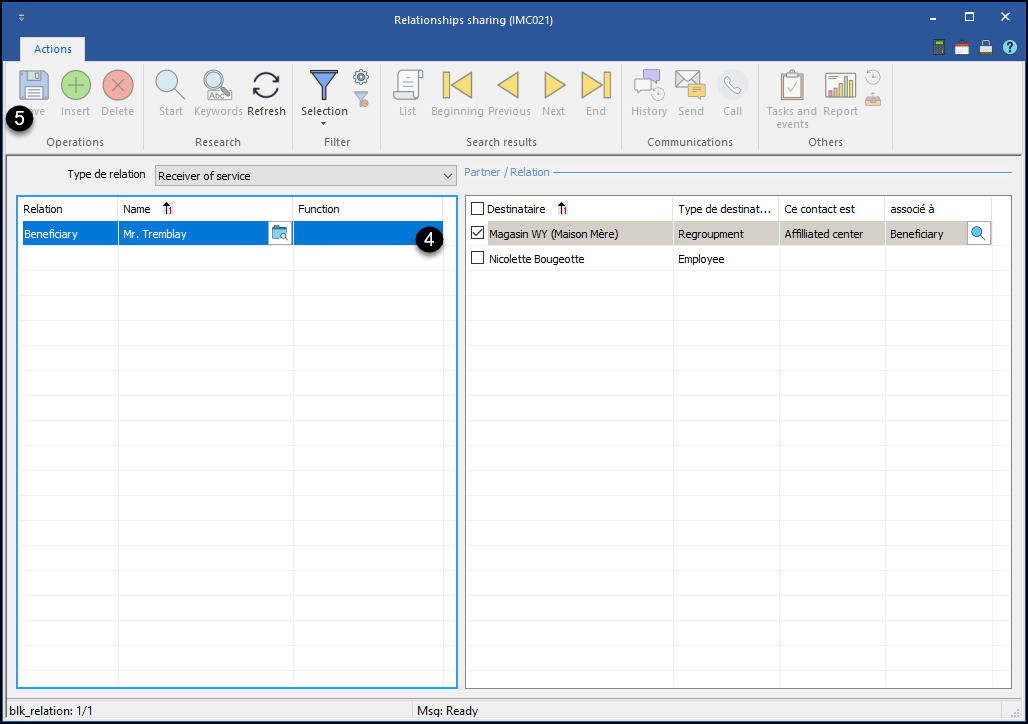
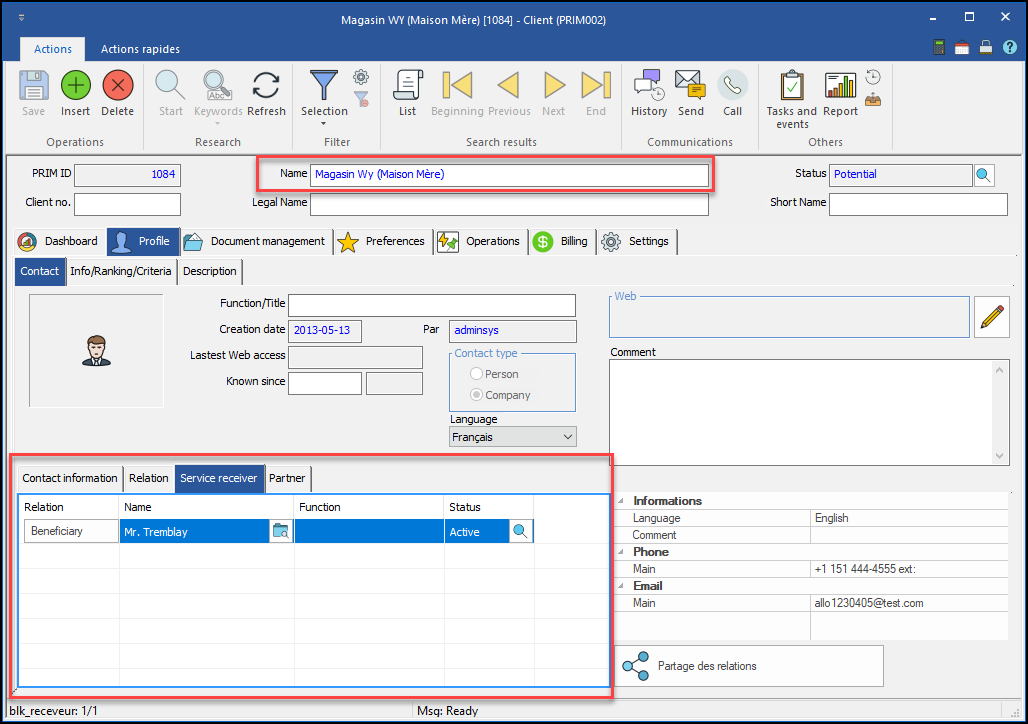
1.Click on the sub-tab “Receiver of service". 2.In the area, click on an empty line, the "Selection of value" window is displayed. 3.Select the option “Affiliated center". Click on
4.The "Contacts management" window will be displayed. 5.Search for the contact by entering its name in the "Name" field, click on the icon 6.Click on 7.The window "Add a relationship to the contact " is displayed. 9.Click on
|
 Partner
A partner must be a contact existing in PRIM, a "client" type.
In the example below, we will add a business relation, a partner.
1.Click on the sub-tab "Partner". 2.In the area, click on an empty line, the window "List of values" is displayed. 3.Select the option "Affiliated center". Click on
4.The "Contacts management" window will be displayed. 5.Search for the contact by typing its name in the "Name" field, click on the icon 6.Click on 7.The window "Add a relationship to the contact " is displayed. Check the properties that you want to assign to this contact. 9.Click on
|
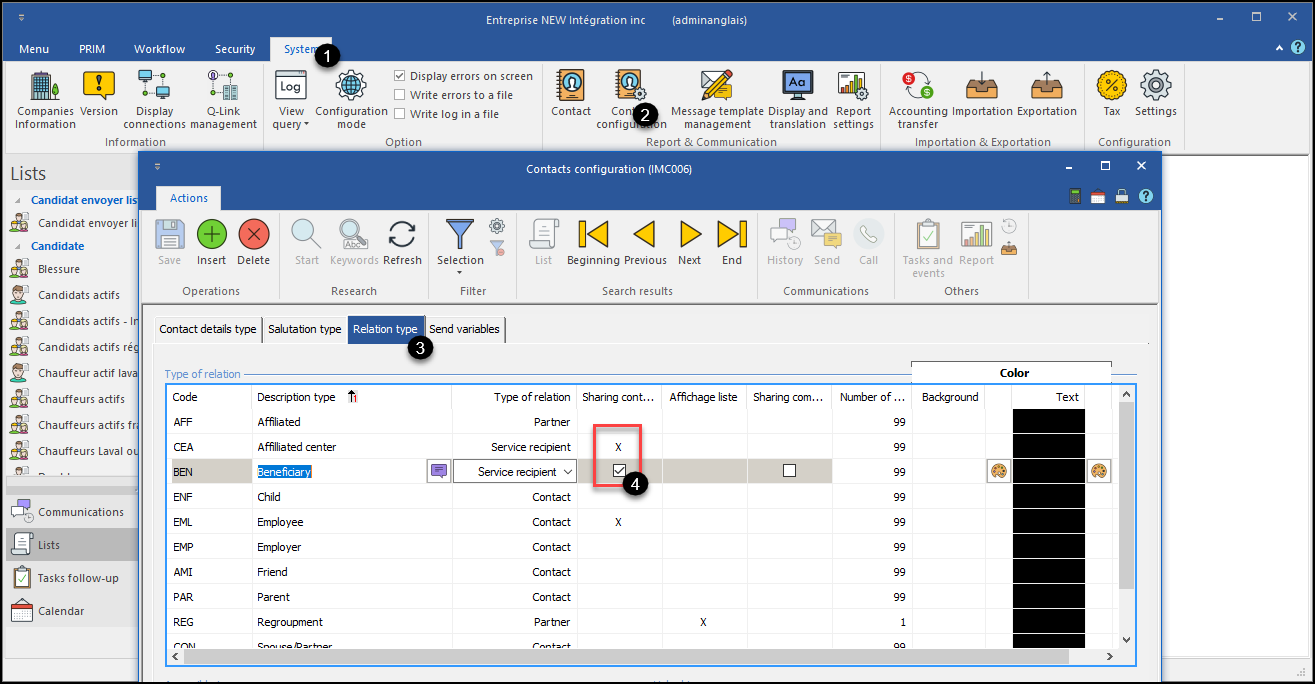
 Partage des relations

