Creating a display
The filter display consists of determining the columns that will be hidden, as well as the width of the columns that will be displayed on the screen.
If the configuration of a display is not permitted, the button will be grayed out.
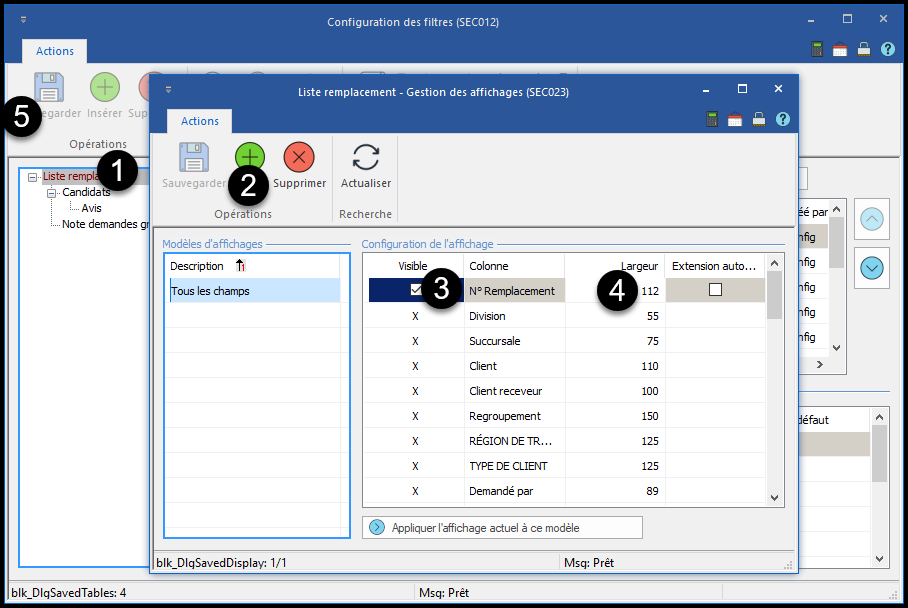
1.Select the window element on which you want to apply a display.
2.In the "Display templates" section, click on the "Insert" icon ![]() or on an empty line to add a new model to the list and enter a meaningful name.
or on an empty line to add a new model to the list and enter a meaningful name.
3.In the "Configuration" section, check or uncheck the box in the "Visible" column to display or not the selected column.
4.In the "Width" column, enter the desired value.
5.Click on the "Save" icon ![]()

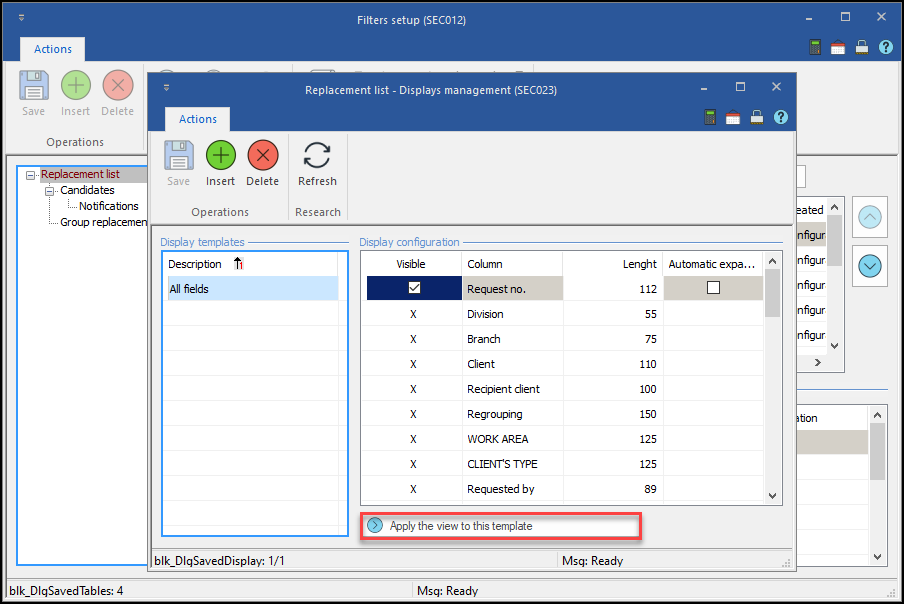
 Apply the current view to this model
When creating the filter display, the "Apply current display to this model" button appears to allow a copy of the configuration currently applied to the window. In this way, the user could adjust the width of each column as they prefer to see them, then use the button to convert the current display to a configuration with a single click.
|
 Automatic expansion
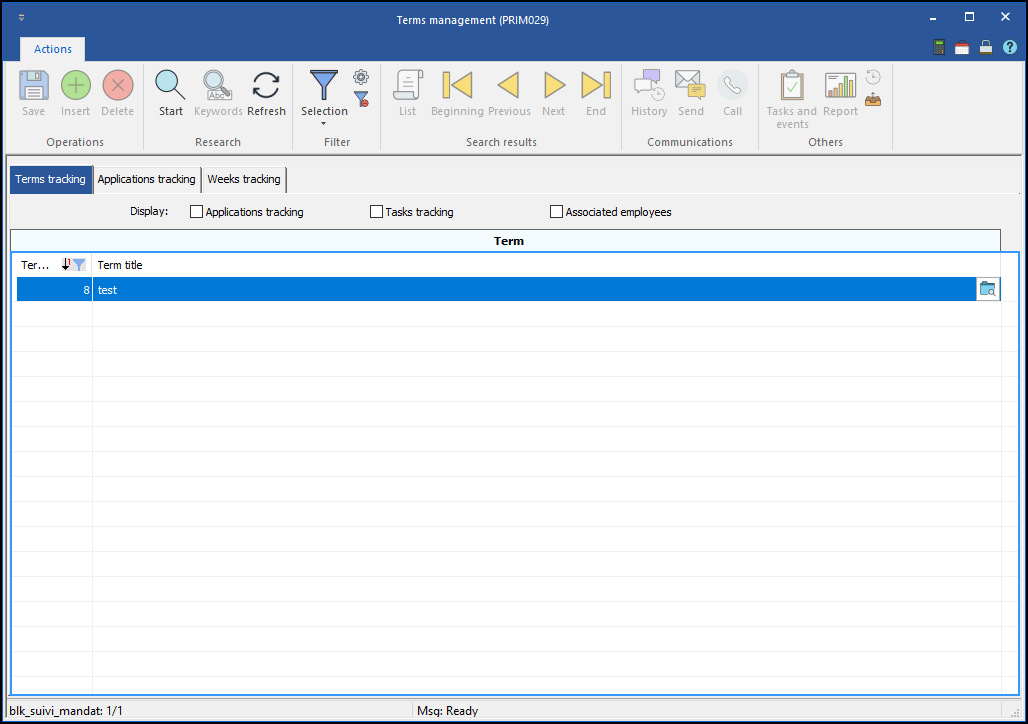
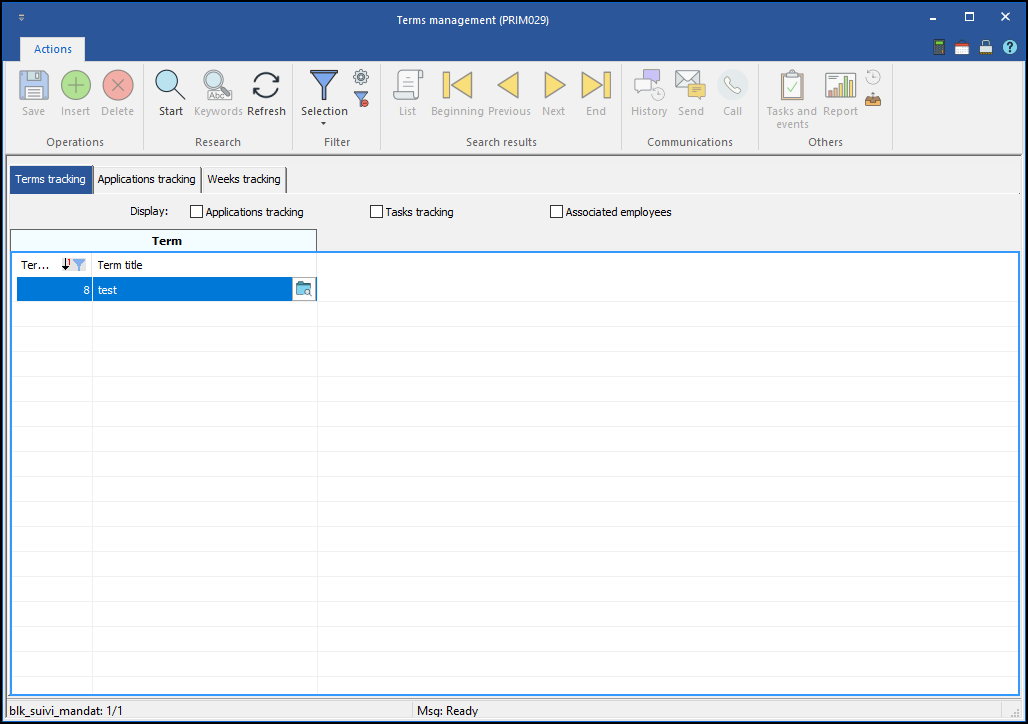
If the width of the selected columns does not fully equal the width of the data grid, the "Automatic expansion" checkbox allows you to increase the width of one or more columns in order to fill the space of the grid. This option is only useful when no horizontal scroll bar appears at the bottom of the page. In the example below, we display only 2 columns and I activated "Automatic Extension" for the column "Mandate title" in order to fill in the space. With "Automatic expansion" on the "Title of the mandate" column: Without "Automatic expansion" on the "Title of the mandate" column:
|


