The "Billing" tab is where to enter the configuration related to billing for a specific client. If this tab is configured correctly, a lot of time will be saved during the various operations, especially during the creation of requests as well as during invoicing.
Billing & Label Preview
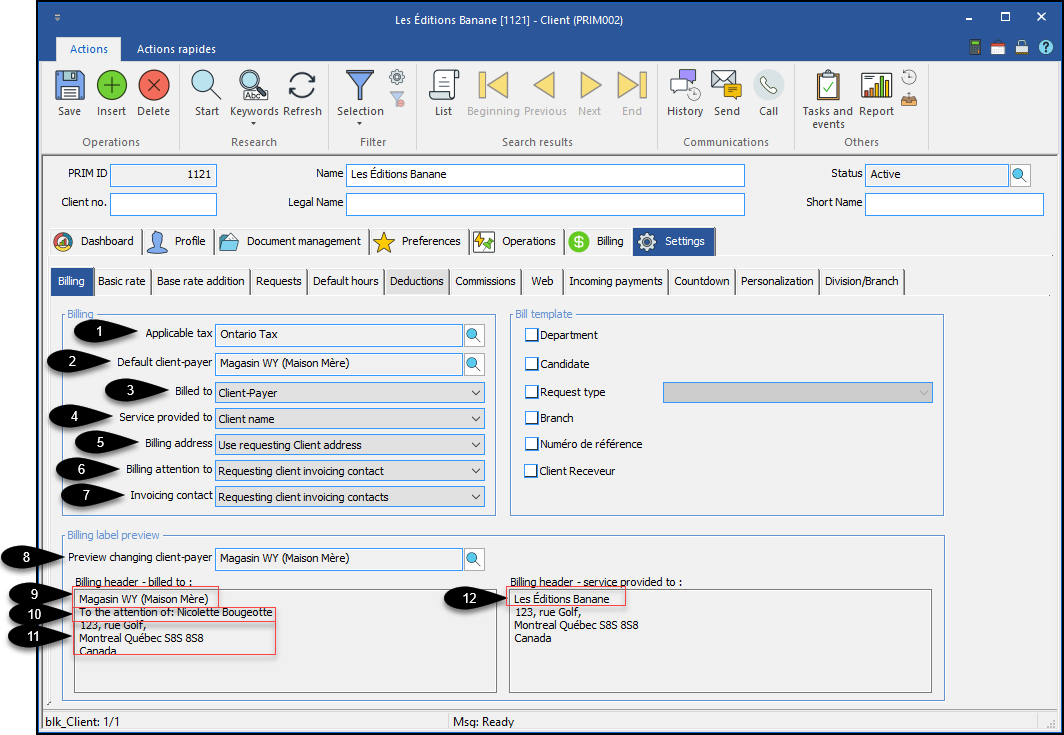
# Image
|
Label
|
Description
|
Possible values
|
1
|
Applicable tax
|
Select applicable taxes for this client requests
|
List of values
|
2
|
Default client-payer
|
Select the default paying partner among the partners having the "Paying partner" property checked.
When creating requests, the default client-payer will be registered, it can be modified by the user if necessary (among partners with the same checked property)
|
List of values having the "Paying partner" property checked
|
3
|
Billed to
|
Select the name of which customer will appear on the billing label (See # 9 on the image)
|
- Client-payer
- Requesting client
- Company name of the requesting Client
|
4
|
Service provided to
|
Select which name of the requesting client will be written on the service label provided (See # 12 on the image)
|
- Client name
- Company name
|
5
|
Billing address
|
Select which address to use for the billing label
(See # 9 on the picture)
|
- Use the address of the client-payer
- Use the address of the requesting client
|
6
|
Billing attention to
|
Determine to which contact we will send the invoice “to the attention of” (See # 10 on the image).
This line will not appear on the billing label if no relationship has the "Billing Contact" property checked for the selected value
|
- Billing contact of the client-payer
- Billing contact of the requesting client
|
7
|
Invoicing contact
|
The invoice will be sent by email to the client's contacts (depending on the selected value) with one of these two properties checked.
-Invoicing contact
- Contact for invoice copy
|
- Client-payer invoicing contacts
- Requesting and payer -client invoicing contacts
- Requesting client invoicing contacts
|
8
|
Preview according to selected client-payer
|
Automatically, the preview will select the "Default client-payer" field (See # 2 on the image).
However, the user can change the value in this field.
It is important to understand that changing the value of the preview field has no impact other than displaying what the billing label will look like if this client-payer is selected for billing.
|
List of values having the "Paying partner" property checked
|
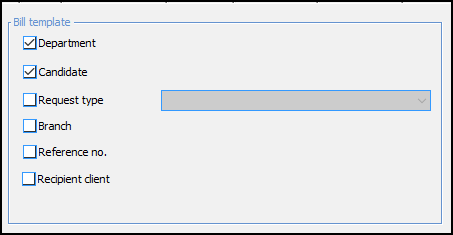
Bill template
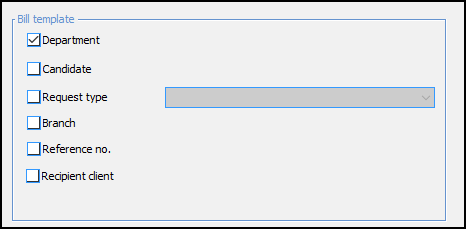
When a user adds a ready-to-process request to an invoice, PRIM will check whether the request can be added on an invoice already having the status "in progress" for the same client, according to the boxes which are checked in the "bill template" section. (See example # 1).
More than one box can be checked, thus adding to the billing constraints. (See example # 2).
Étiquette
|
Description
|
department
|
Adds requests from the same department on the same invoice
|
Candidate
|
Adds requests from the same candidate on the same invoice
|
Request type (Distinct)
|
Add requests of the same type on the same invoice
|
Request type (Grouped)
|
Adds requests whose type is part of the same branch of the tree structure on the same invoice
|
Type de demande (Request description)
|
Add whose type description is identical on the same invoice
|
Branch
|
Add requests from the same branch on the same invoice
|
Reference no.
|
Adds requests with the same reference number on the same invoice
|
Recipient client
|
Adds requests with the same recipient client on the same invoice
|
Exemple 1:
If the "Department" box is checked, then PRIM will create a separate invoice for each department for this client.
Request # 1 - Béatrice Dubé worked at the “Les Éditions Banane” center in the “2nd floor” department
Request # 2 - Mario Ouellette worked at the “Les Éditions Banane” center in the “2nd floor” department
Request # 3 - Thomas Cloutier worked at the “Les Éditions Banane” center in the “underground” department
In this scenario, when the 3 requests are processed on invoicing, request # 1 and # 2 will be on the same invoice as they are on the same department, while request # 3 will be on a separate invoice.
Exemple 2:
If the "Department" and"Candidate" box are checked, then PRIM will create a separate invoice by department and by candidate for this client.
Request # 1 - Béatrice Dubé worked at the “Les Éditions Banane” center in the “2nd floor” department
Request # 2 - Béatrice Dubé worked at the “Les Éditions Banane” center in the “underground” department
Request # 3 - Thomas Cloutier worked at the “Les Éditions Banane” center in the “underground” department
In this scenario, when the 3 requests are processed on invoicing, request # 1, # 2 and # 3 will all be on separate invoices as none of them has the same department as the same candidate.
|
![]() The following sub-tabs will be seen in detail in the "Accounting" unit
The following sub-tabs will be seen in detail in the "Accounting" unit![]() The sub-tab "Personalization" will be seen in detail in the unit "Super user"
The sub-tab "Personalization" will be seen in detail in the unit "Super user" Billing sub-tab
 Requests sub-tab
 Web sub-tab
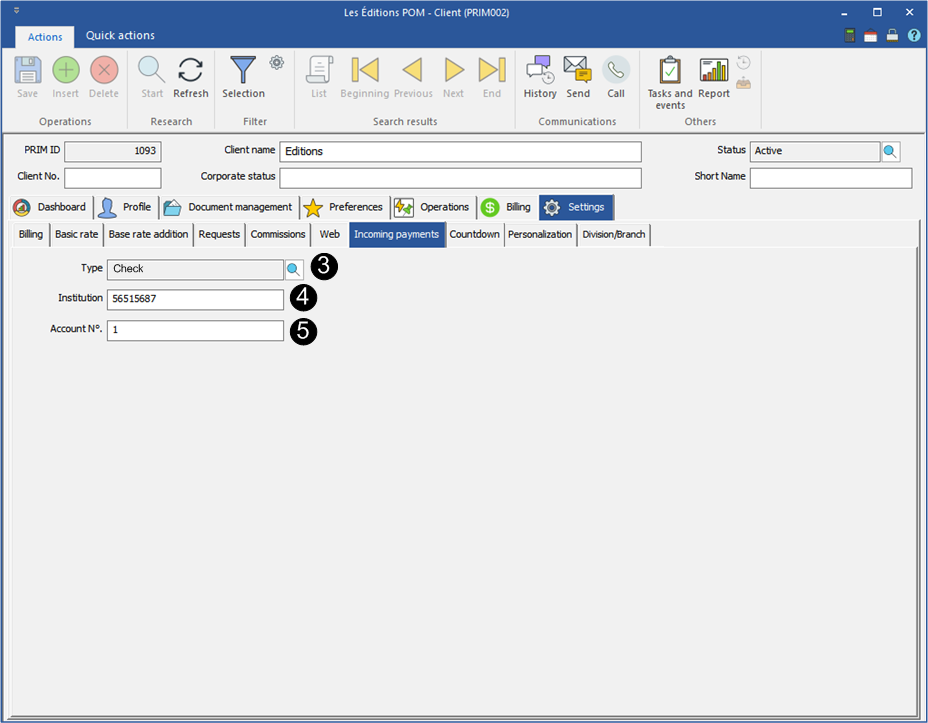
 Incoming payments sub-tab
 Countdown sub-tab
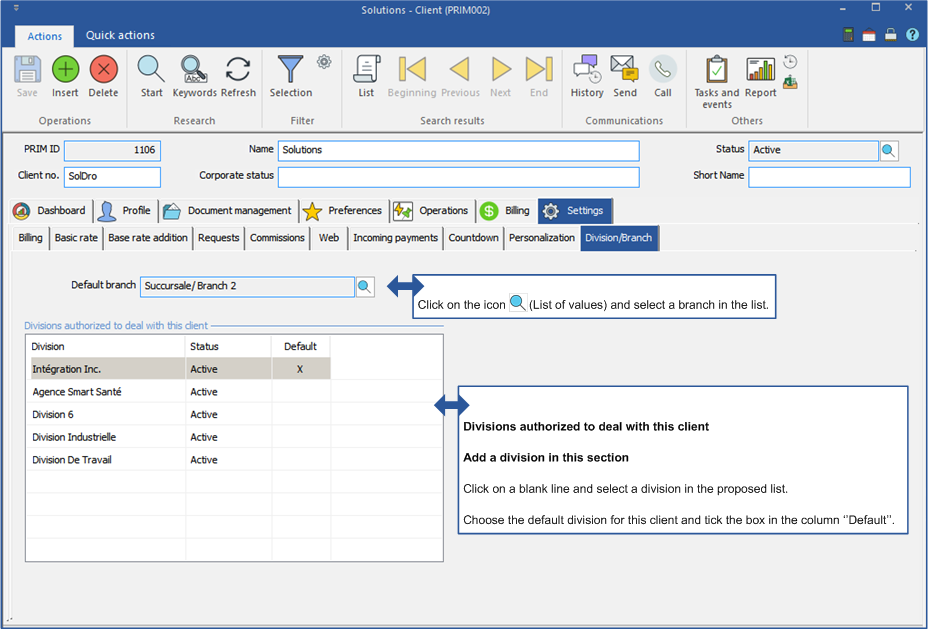
 Division/Branch - Sub-tab


