Window - Employee (PRIM023)
All the information related to each of your employees are located in their file.
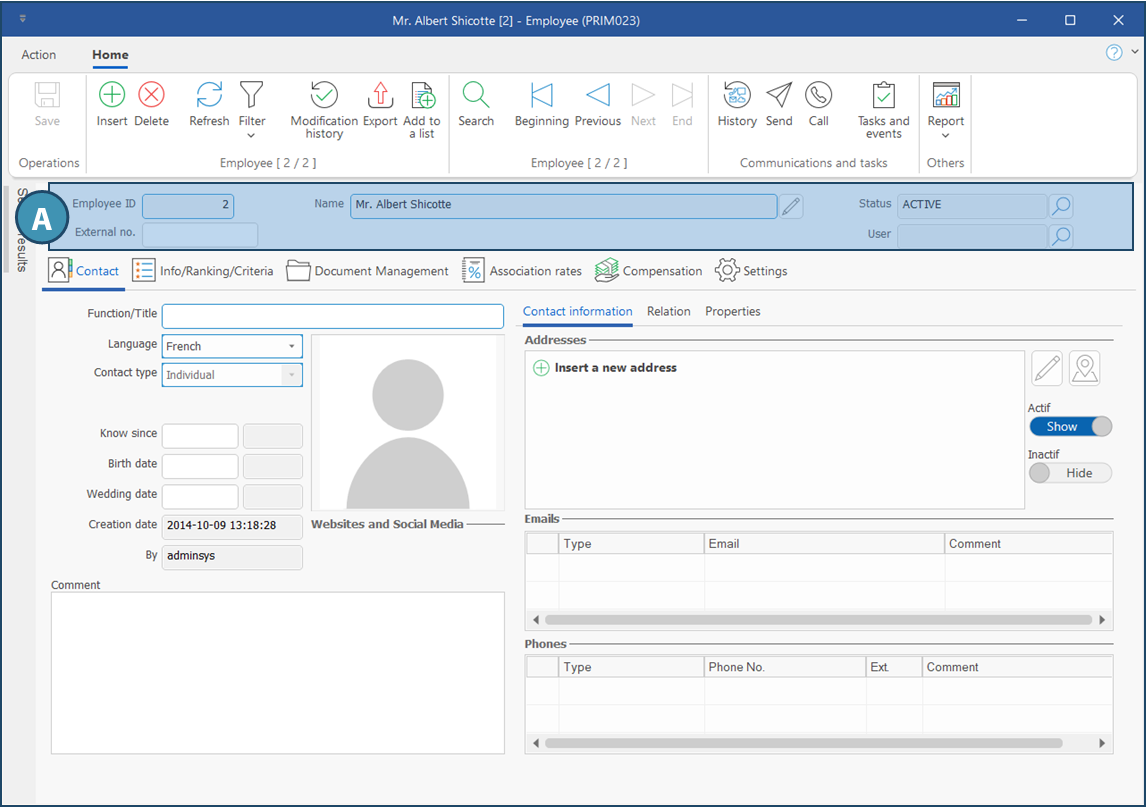
Regardless of which tab you browse, the top section will always be the same, displaying general information about the employee.
From Home ribbon, click on  (Employé) to launch the window
At the opening, you are in search mode, you will notice that the fields are green.
•You can click on the icon  (Execute search), all records are extracted and PRIM is positioned on the first record of the list.
•It is possible to navigate through the records using the following icons 


 .in Home ribbon, or using the Search results pane on the left of the window.
•You can start a search by entering a keyword in one of the green fields and click on the icon  (Execute search).
 The window can occupy the whole space (full screen mode) or only a part of the screen.
 It may be consulted by the employee. The display and ability to view all tabs will depend on the configuration of the security group of the employee.
The window has a main section (A) and various tabs, which will be explained in detail in the next pages.
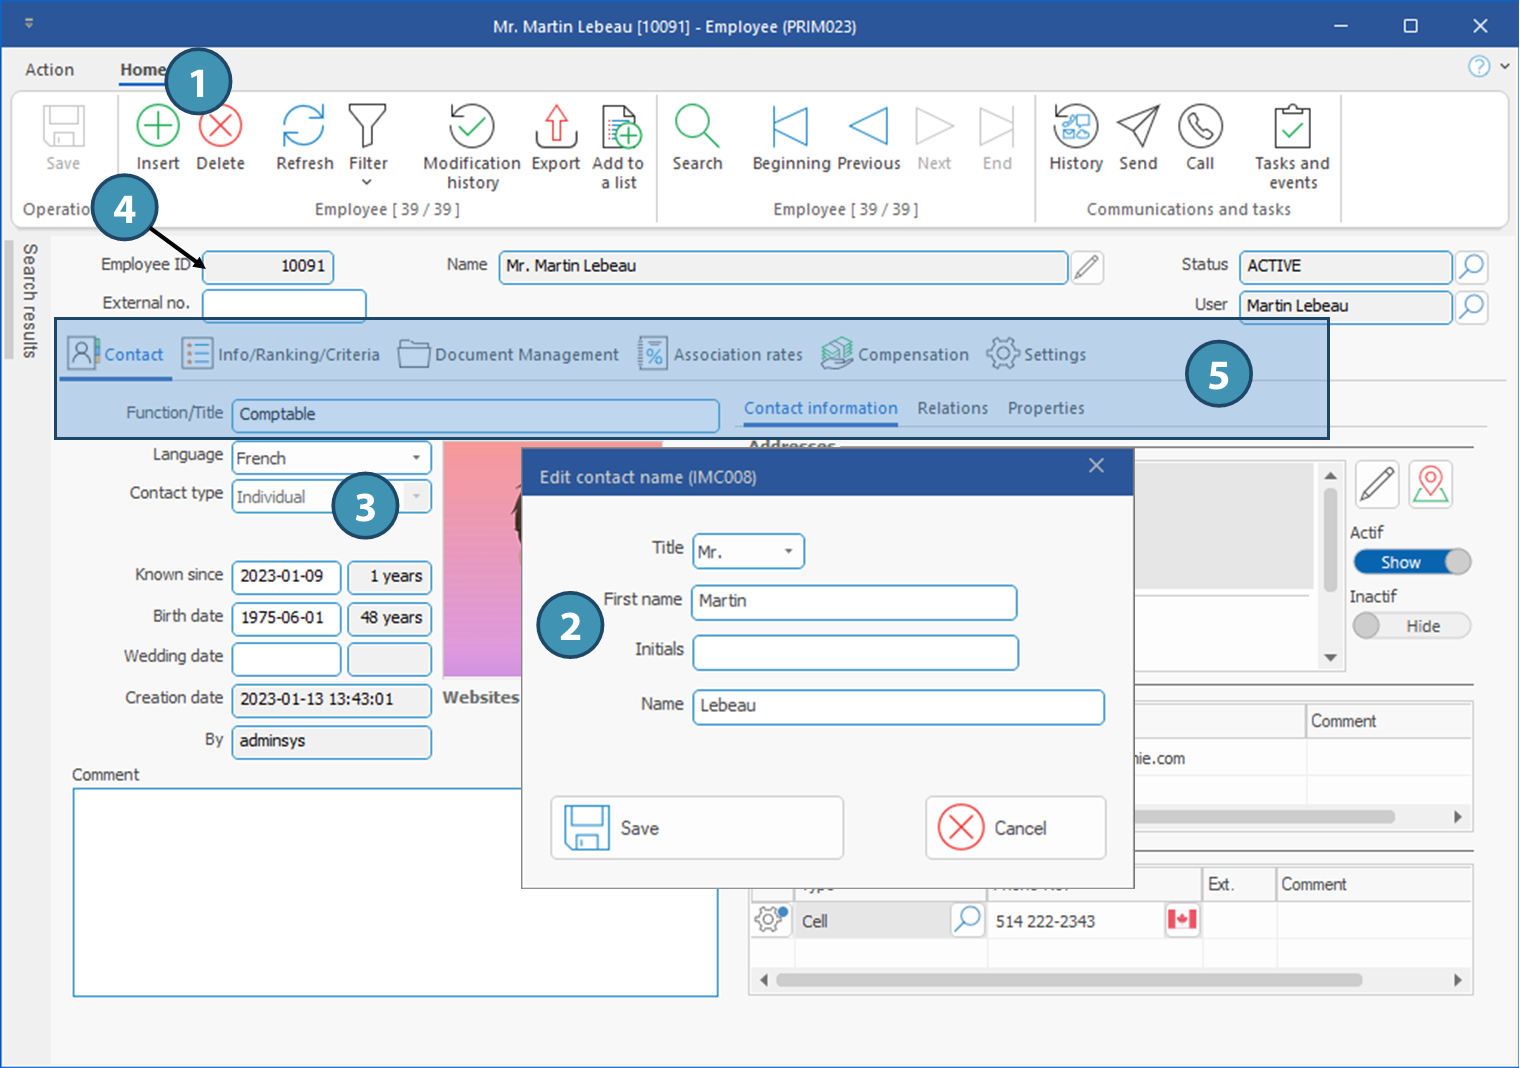
 Description of fields in the main section
 Add a new employee
 and select the username in the provided list. In order to do so, the user must first be set up in PRIM Logix.


