Availability management window (PRIM021)
In this window, you can define a candidate's usual availability.
From the "Availability" pane, click on "Edit usual availability" to open the window.
The usual availability of a candidate is recurring hours during which the candidate is available or not available to work.
A single schedule can have up to 4 different weeks before the cycle starts again.
Example:
-Week 1 : available on week evenings, but not during the week-end
-Week 2 : available 3 evenings during the week, and 1 day during the week-end
-Week 3 : not available during the week, but available during the week-end
-Week 4 : available 3 evenings during the week, and 1 day during the week-end
-…at the end of week 4, schedule goes back to week 1.
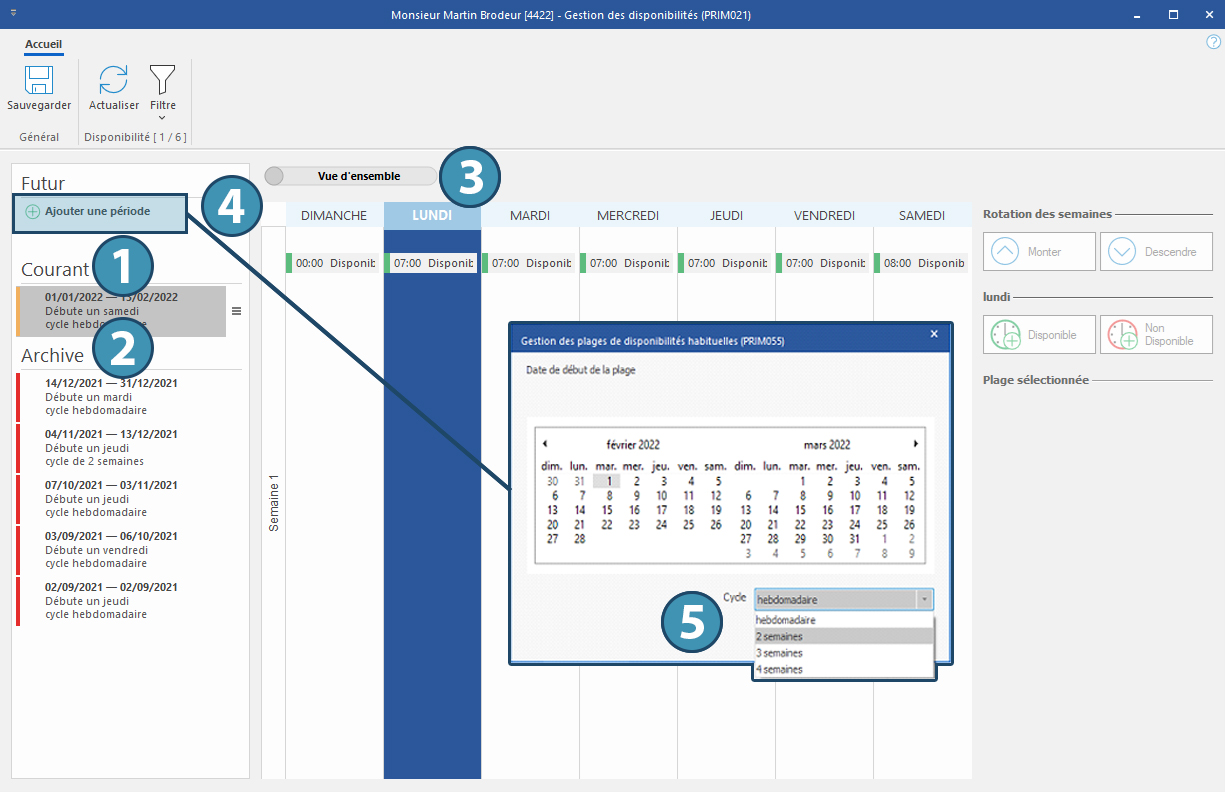
The band on the left allows you to navigate between the current availability template (1), other templates used previously (2) and any new ones.
The button Overall view / Detailed week (3) allows you to toggle display between these two views, at your convenience.
 Please note that it is not possible to modify availability of a past or current template.
Create a new availability template
To create a template for the future, click on "Add a period" (4) and select a date on which the current template will take effect and the cycle of this schedule (cycle from 1 to 4 weeks) (5).
Depending on the number of weeks selected, you will have to set up availability for each week of the cycle.
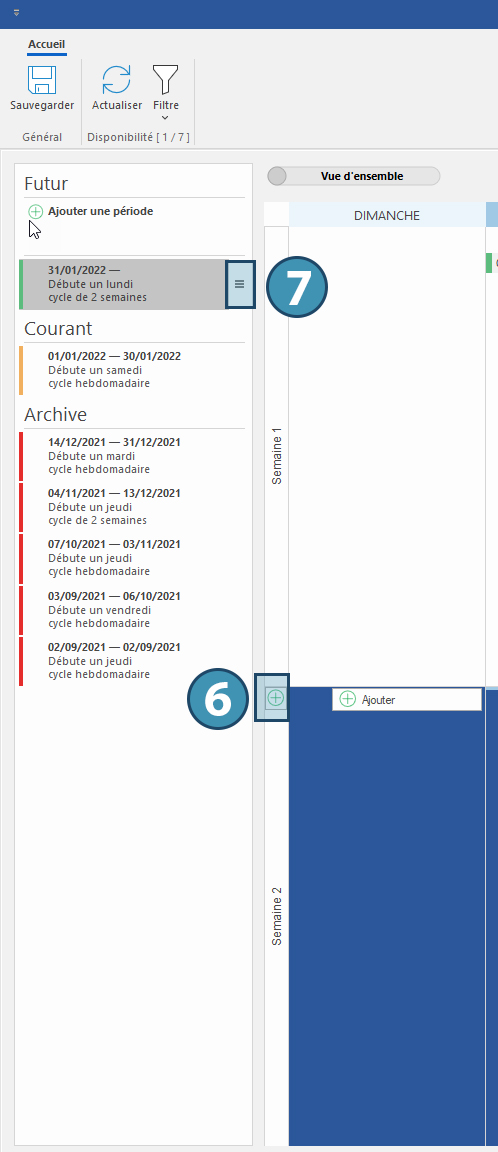
Use the same procedure as indicated in the previous section to define the candidate's availability. Notez que vous pouvez également utiliser un gabarit pour une semaine complète en cliquant sur le bouton correspondant ou en utilisant les raccourcis claviers préconfigurés (6).
You can also edit or delete a future template or copy a current, past or future template to a future date by clicking on the contextual options button (7).