Navigate in PRIM Logix
General icons
Below, you will find a brief description of the various icons that you will find in PRIM, they are available in different windows.
ICÔNE |
NOM |
DESCRIPTION |
|---|---|---|
|
Edit |
Allows you to edit the selected area. |
|
View address on a map |
Directs you to Google Maps, displaying the address entered in PRIM.. |
|
List of values |
Opens a window with a list of values or a list of options to select. |
|
Internet link |
Directs you to an Internet URL via your web browser, for example, a client website.. |
|
Translation/customization |
Allows the translation or customization of the selected item (edit the text in French or in English). |
|
Open file |
Allows you to display the file of the selected item.
Ex: file of a candidate |
|
Expand or collapse the information displayed (tree structure) |
(+ plus) = allows you to display all the information in the tree.
(- minus) = allows you to hide the information in the tree. |


 To view a complete table of icons used in a communication setting, consult the corresponding page.
Keyboard shortcuts
Although the main toolbar is accessible from every window in PRIM Logix, please note that some icons may not be available depending on the selected window.
Here is a brief description with corresponding shortcuts:
ICON |
NAME |
SHORTCUT |
DESCRIPTION |
|---|---|---|---|
|
Save |
F1 |
Allows you to save the changes you made. |
|
Insert |
F2 |
Allows you to add a blank record or to leave search mode. Green fields will turn to white to indicate that you are now in data entry mode. |
|
Delete |
F3 |
Allows you to delete the current record. |
|
Search |
F4 |
When you press this button, the search mode is active, and all the fields for which you can perform a search become green. At the opening of a window, the search mode is sometimes enabled by default. |
|
Key words search |
|
In the window where it is accessible, this icon allows you to search using keywords. |
|
Refresh |
F5 |
Updates the data in the selected area of the window. |
|
Clear fields |
F4 |
In search mode, it allows you to erase the content of all the fields in the window. |
|
Perform a search or refresh data |
F5 |
After having entered a search criterion in a green field, click on this icon to launch the search. |
|
Filter selection |
F7 |
Displays the selection window for available recurring filters. |
|
Clear filters |
|
Remove all filters applied in the window. |
|
Display configuration |
F8 |
Allows you to configure display (use a recurring filter). |
|
Search result in list form (tab auto-hides on the left side of the windowl'onglet est réduit sur la gauche de la fenêtre) |
F9 |
Allows you to view the results of your search in the form of a list. By clicking on one of the items, the active window will display the selected record. This list will remain open in the background, until it is closed by the user. |
|
First record |
Ctrl + Home |
Allows you to navigate to the first record in the list. |
|
Previous record |
Ctrl + PgUp |
Allows you to navigate to the previous record in the list. |
|
Next record |
Ctrl + PgDn |
Allows you to navigate to the next record in the list. |
|
Last record |
Ctrl + End |
Allows you to navigate to the last record in the list. |
|
Communications history |
F11 |
Displays the list of all communications regarding a record, for example, a candidate or a client. |
|
SMS/Email |
|
Allows you to send a SMS or an email. |
|
Phone communications |
|
Allows you to make or receive a call, display the call summary window and end the call. |
|
Events and tasks |
F10 |
Allows you to open the window “Events and tasks management". In this window, you can see the events and tasks related to the previously selected record. |
|
View the changes history (specific window or element) |
F12 |
Allows you to display the list of changes that have been recorded on the candidate, the client, the replacement, etc. according to the window where you are. |
|
View the changes history by user |
|
Allows you to display the list of changes that have been recorded by users anywhere in the database, according to defined filters. |
|
Import |
|
Allows data import. |
|
Export |
|
Allows data export. |
|
Report |
|
Allows the display of different reports according to the window where you use this icon.
« If you use this icon from the "Menu" tab of the main window of PRIM, make sure the display settings of the selected report are in conformity. For example, it is possible that PRIM does not find data to display if the criteria are not correctly entered in the fields of the column " Value". |
|
Window security settings |
|
Allows access to the current window security configuration. Active only for users that are part of the security group "ADMIN". |
|
Help |
|
Allows you to display the online help to users according to the window where you are. |


View a file
Everywhere you find the icon  (Open file) , you will be able to access to this file.
The windows you open will stay "linked" to the first window. So, if you change the folder in the main window, the file viewed will also change.
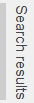
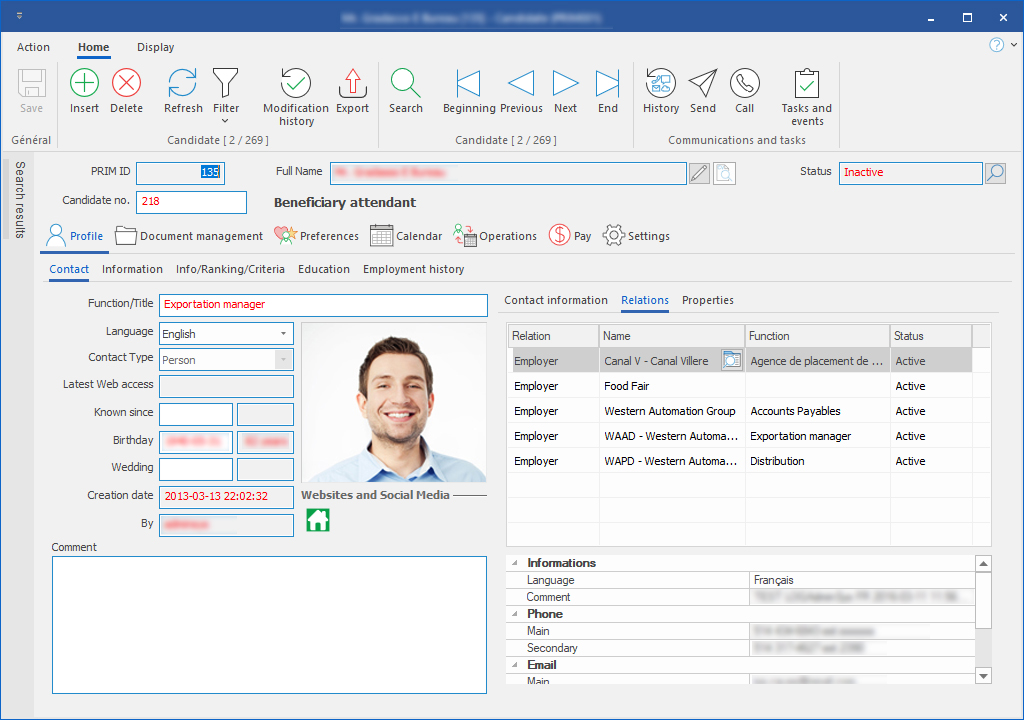
In the example below, when you click on besides the client's name, "Canal V- Canal Villere", the window for this client will open.
Selected area
In the image below, the selected area is the list of email addresses, and it is easily identifiable by its. The options in the main menu are linked to the chosen area.
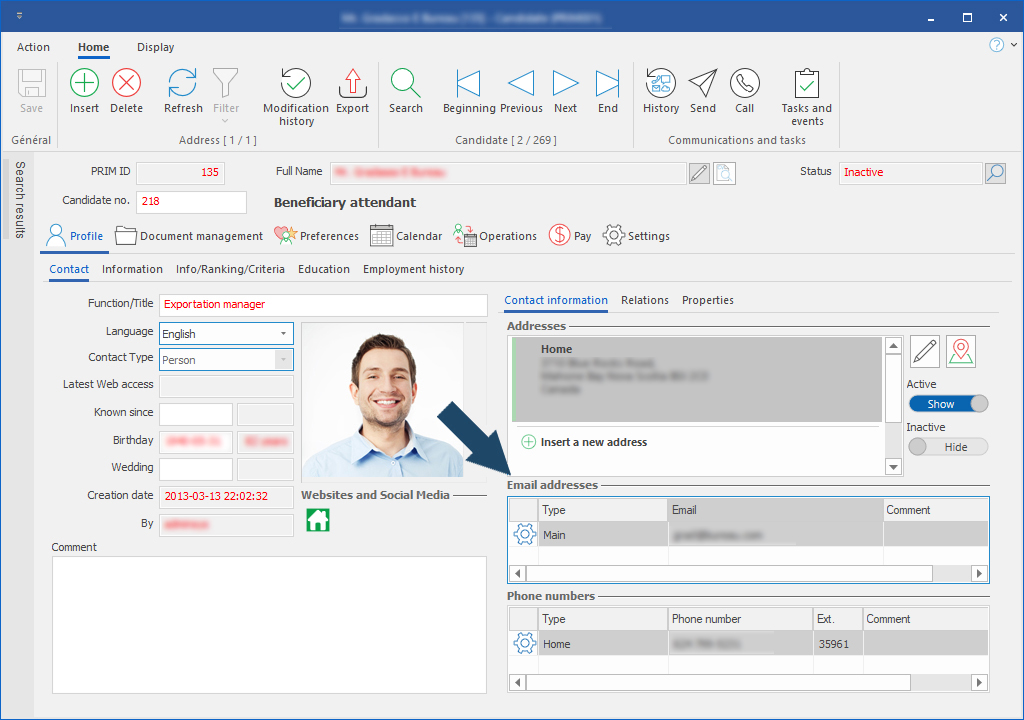
For example, if you click on  "Insert", PRIM Logix will insert a new line in the list to allow you to add an email address.