Use the planner
Assignement method
The planner takes into account the assignment method to assign a candidate.
To assign a candidate, interests ( ) of the agency, the candidate and/or the client must match the assignment method for the request. For each shift, parties determining the assignment are in bold in the section about interest.
Communicate with one or several candidate(s)
Use the action buttons to contact a specific candidate.
Use the button for sending emails/SMS in the Home ribbon to contact several or all candidates displayed in the planner, ticking the check boxes. In order to reduce or increase the number of candidates displayed, you can use filters.

Add an application manually
Removing the various filter allows you to display candidates that do not completely match the request. However, if the mission's criteria are not met, rmoving the mission's filter will not be enough to make the candidates appear, since mission's criteria are mandatory. If a candidate is not displayed after removing all filters, it is possible to add him/her manually as follows:
1. Use the button  to add one or several candidates to the planner: a Candidate window will open in search mode.
2. Perform a search using one of the available fields, for example the name or one or several criteria in the tab Info/Ranking/Criteria.
3. A list of candidates is displayed: select the candidate(s) that you want to add to the planner and click on "Add to shift #xxxxx".
4. The selected candidates are added in the planner, with the interest icon  (Application under consideration).
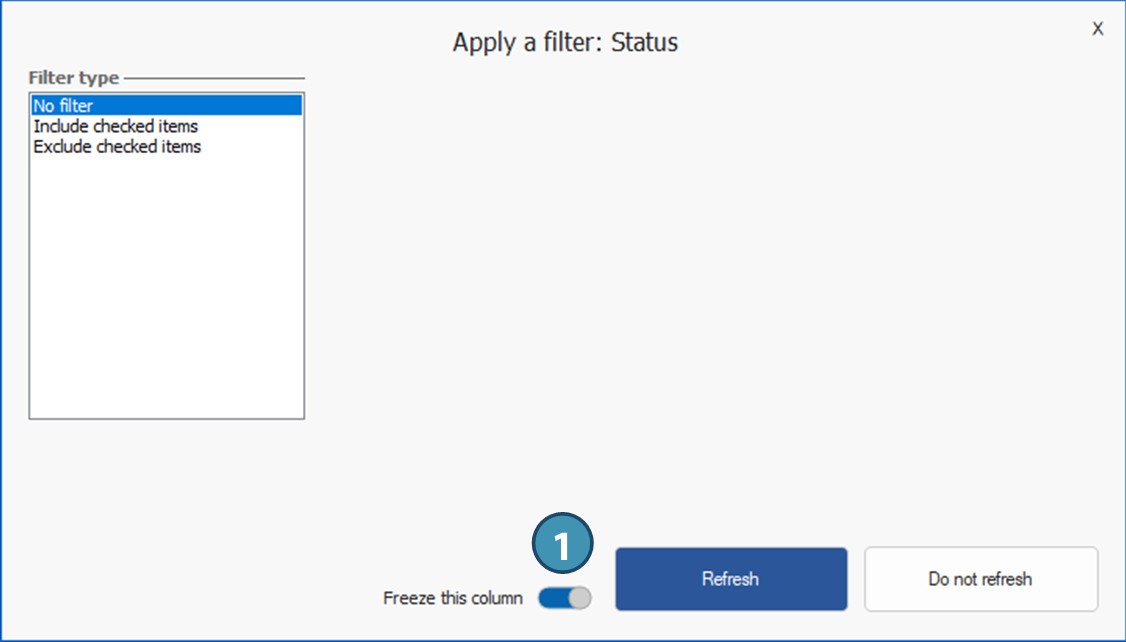
Freeze a column in the planner
In order to make the consultation of the planner's table easier, it is possible to freeze columns in order to block horizontal scrolling. To do so, right-click on the header of the column and slide the button "Freeze this column" to the right.
 All the columns to the left of the selected column will also be frozen, and scrolling will only occur to the right of the selected column.
To keep the column frozen, you just need to create and save a display for the planner, and to link this display in a recurrent filter configuration for the planner.
Unassign a candidate
To unassign a candidate, go to the Shifts window. Refer to the corresponding page.
Confirm a a grouped shifts requeste
If you can confirm a punctual shift in Shift (PRIM014) window or in the table of shifts of the shift management window, grouped request are to be confirmed in the schedule pane and planner tab of the grouped request. Once a candidate has been assigned to the schedule, confirmation check boxes appear at the bottom of the planner when a candidate to be confirmed is selected, as shown below. Simply tick the relevant boxes to confirm the candidate or client. You can also select the confirmation contact, if it has been properly added in the client.
